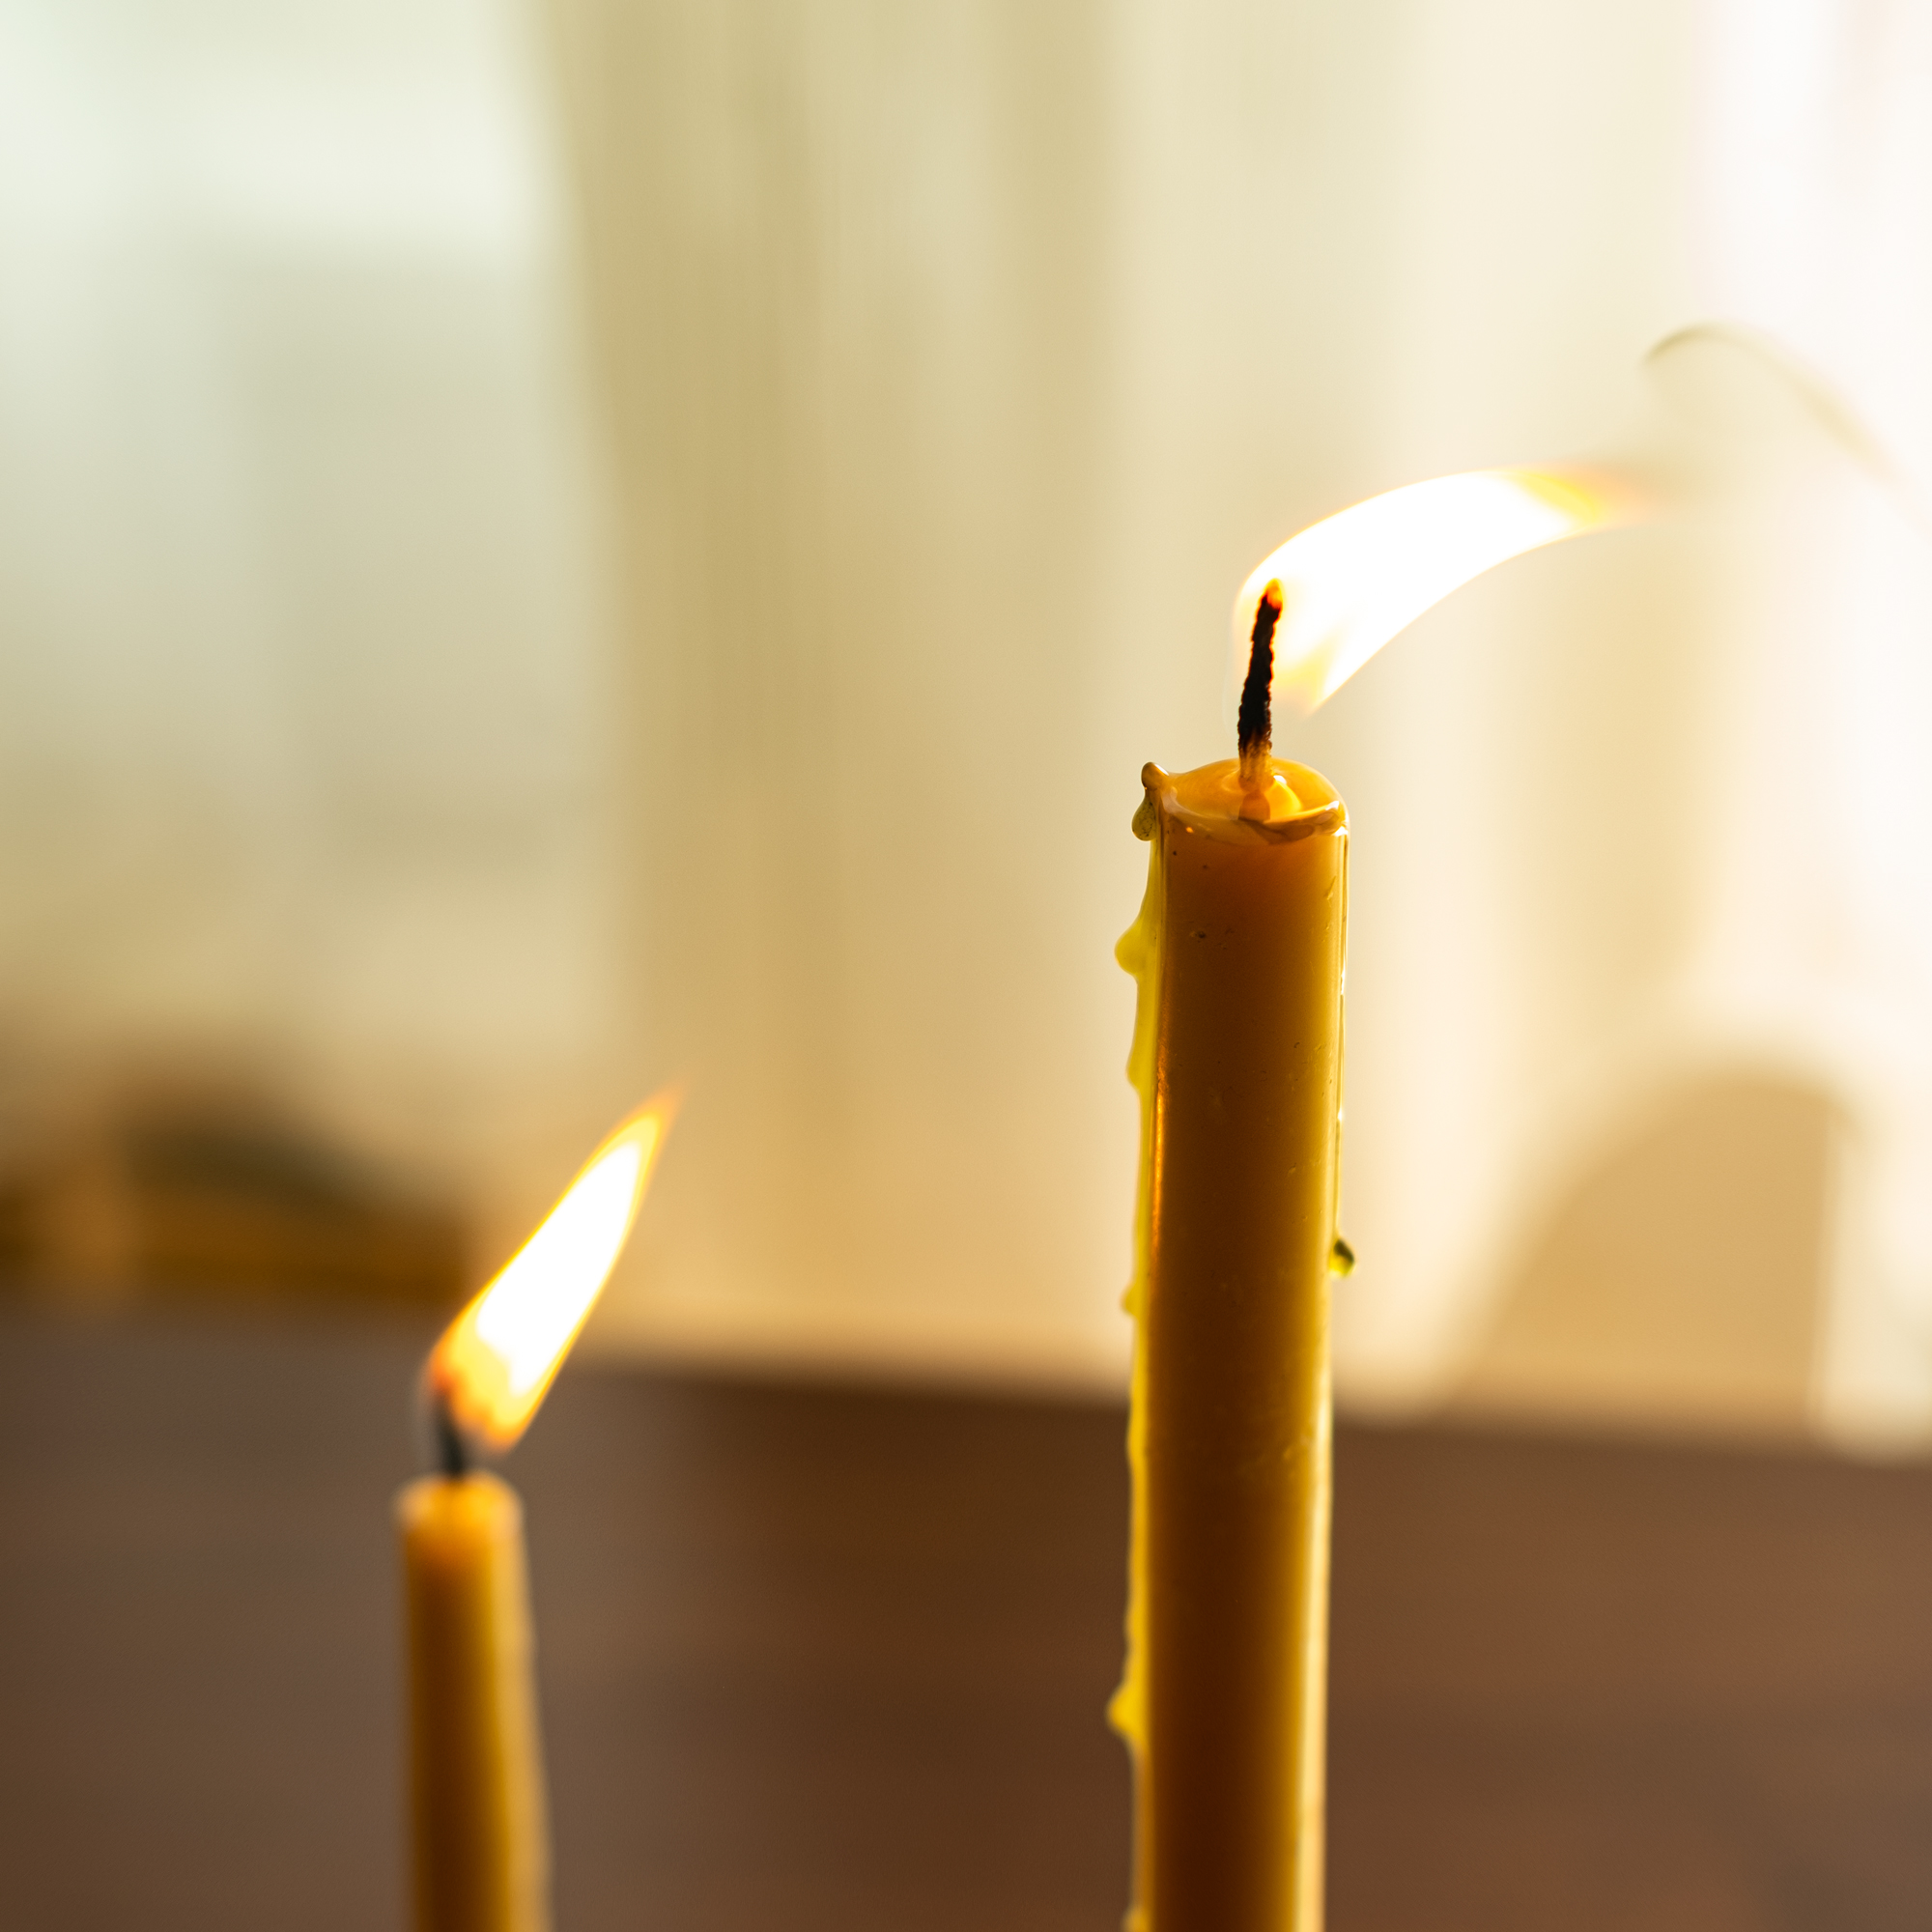
Candle Care
1. Wick Care
Wick: too long – If the wick remains too long, the flame will flicker and smoke. Candles with a larger diameter and a thicker wick usually require the wick to be trimmed before the first lighting of the candle and sometimes before each subsequent one.
Wick: too short – If the wick is too short, with wider/thicker candles, the flame will melt a basin of wax and the wick will not be able to consume (burn) and so the candle in a glass or metal container will “suffocate” and go out. For candles without a container, the melted wax in the basin will overflow and start leaking. Thin candles may start dripping.
The ideal trim for all wicks is at least half an inch or 6-8 mm. Trimming is necessary for candles of a larger diameter. The wicks of thin candles, like votive and tealights, should not be trimmed.
2. Choosing a suitable candlestick or pad/bed for your candle
Candlesticks must be stable enough to hold the weight of a candle without the risk of tipping over. Pads should be non-flammable as some candles, i.e. those in a glass container, become critically hot when a candle is burning, and can burn the pad. Learn more from our Safety Instructions
3. Choosing a place to place a candle
Candles MUST always be out of the reach of children and pets and MUST never be left unattended. Avoid burning candles in bedrooms and places in your home where you can relax and sleep. For its normal burning, a candle must be placed in a place without draughts/currents from open doors or windows, air conditioners, heating units, etc.
4. Lighting a candle
This topic may seem unnecessary, but in fact it is not. It is important to mention no matter what you light the candle with, it is important to keep the flame at the bottom of the wick when lighting it, so that the flame heats the wax and melts it. Thus, the wick manages to absorb the melted wax and begins to burn properly. If you light the wick at its tip, you risk burning only the wick and the candle does not light at all.
5. Optimal burning – how to
Under normal conditions, our candles do not drip. All types of candles become an issue if their burning medium is not suitable. The main obstacle is the air current – it can cause vibrations, smoking, dripping and leakage of the candle bed. If your candle drips and the place where you put it has a current flow, you need to put it out, move it to an air current free place and light it again. Central heating, air conditioning, fans, open windows – all these can create draughts.
Depending on the type of candle, you may need to occasionally trim the wick. You should put the candle out and trim the wick in case:
- The candle flame flickers (dances) and/or smokes
- The flame is large and “stretches” high
- A carbon sponge (a black formation) forms on top of the wick
When trimming the wick, it is important to remove the trim offcuts from the candle. In addition, no pieces of matches or other foreign bodies should fall in. The pieces will ignite and burn like a wick, thus making the candle burn way too intensely.
6. Putting a candle out
Candles with a large diameter – it is important not to put the candles out by blowing or “suffocating” them with a lid (bell). This method “kills” the wick for the next lighting and shortens the life of the candle. It also causes smoke.
The best option is to dip the wick in the melted wax and straighten it back to its original position, making sure it is standing correctly. Thus, the wick goes out, there is no smoke and the wick is well soaked with wax and ready to be re-lit. For this purpose, you can use handy non-combustible materials, or a special tool called a wick dipper.
Tealights, Votives can be put out in two ways – using a wick sniffer or by dipping the wick in the basin/bed, as described above.
Thin candles – there are no special requirements for putting them out, and one can do it in a way convenient for them.
7. Cleaning wax from a candlestick or pad
Wax is cleaned in two easy ways: by freezing or by heating it up. If you are trying to remove wax from a container, candlestick or pad, just freeze it in the freezer. Wax has the property to shrink when frozen and this helps it to peel it off from any surface. With a light tap, wax falls off.
Alternatively, you can do the exact opposite – heat the object you are trying to clean and then wipe it with a cotton cloth until the wax is completely absorbed.
If you have dripped some wax on a cloth/fabric and want to clean it, the freezing method works better in case of solid drops. Just freeze the garment and the wax will fall off like a flake. In case some wax still remains on the fabric, then you can put paper on both sides of the stain and press it with a hot iron. This will melt the wax and absorb it into the paper. Repeat the procedure with another clean paper, if needed.

